
【ぬい服小物】ヘアバンドのきれいな付け方・コツ (How to Wear Hair Bands)
ヘアバンドは15cm・20cm・30cmの
3種類の長さがあります。
長さに合わせたリボンの結び方を
ご紹介します!
① 20cmぬい × 20cmヘアバンド
Hair bands are available in three lengths:
15cm, 20cm, and 30cm.
We will show you how to tie the ribbon
according to each size!
① 20cm doll × 20cm hair band
.jpg?type=w860)
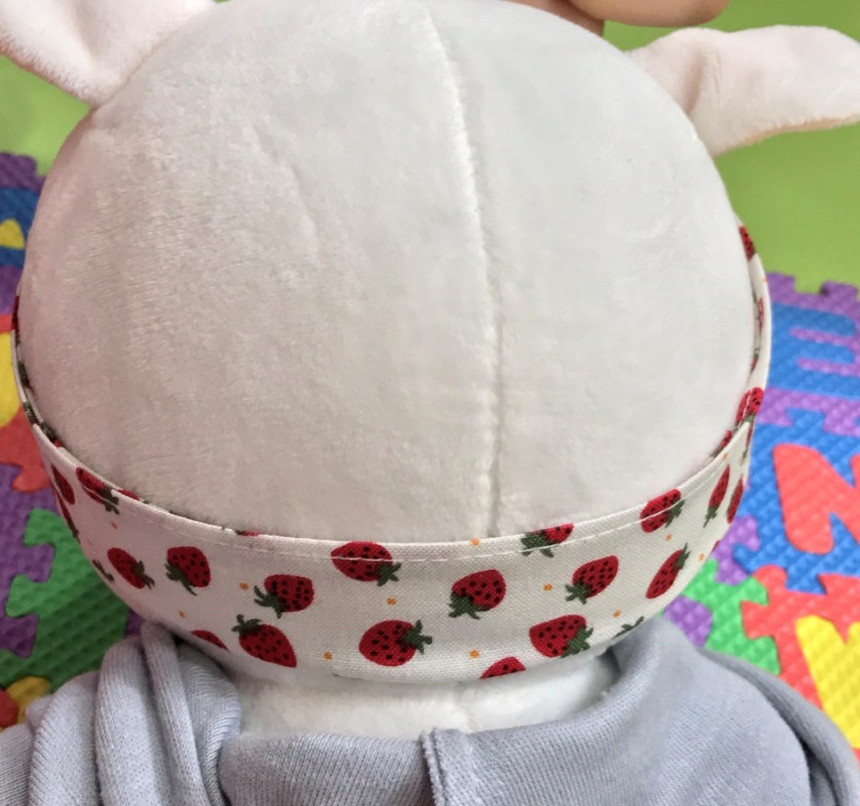
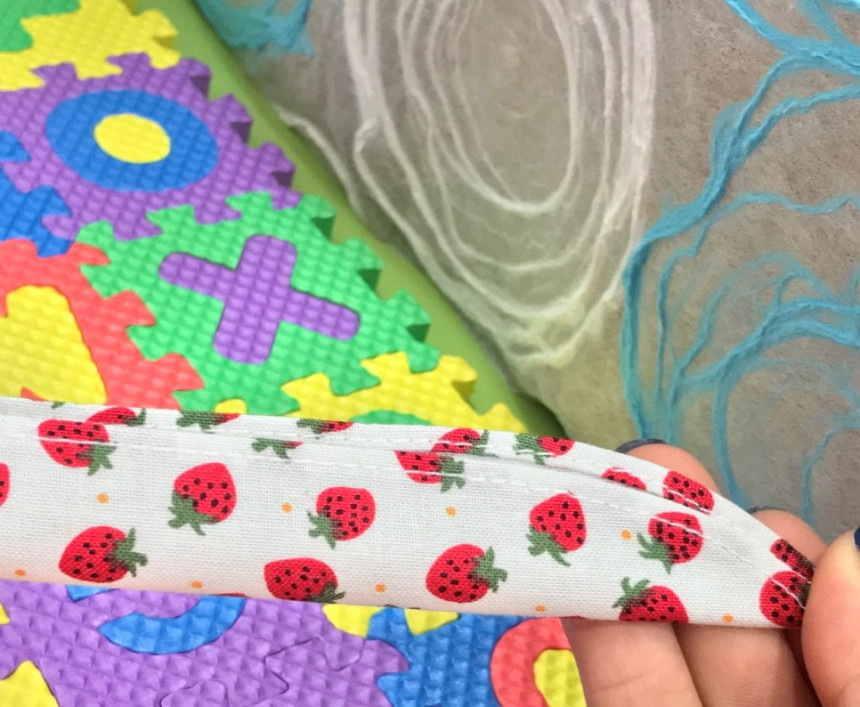
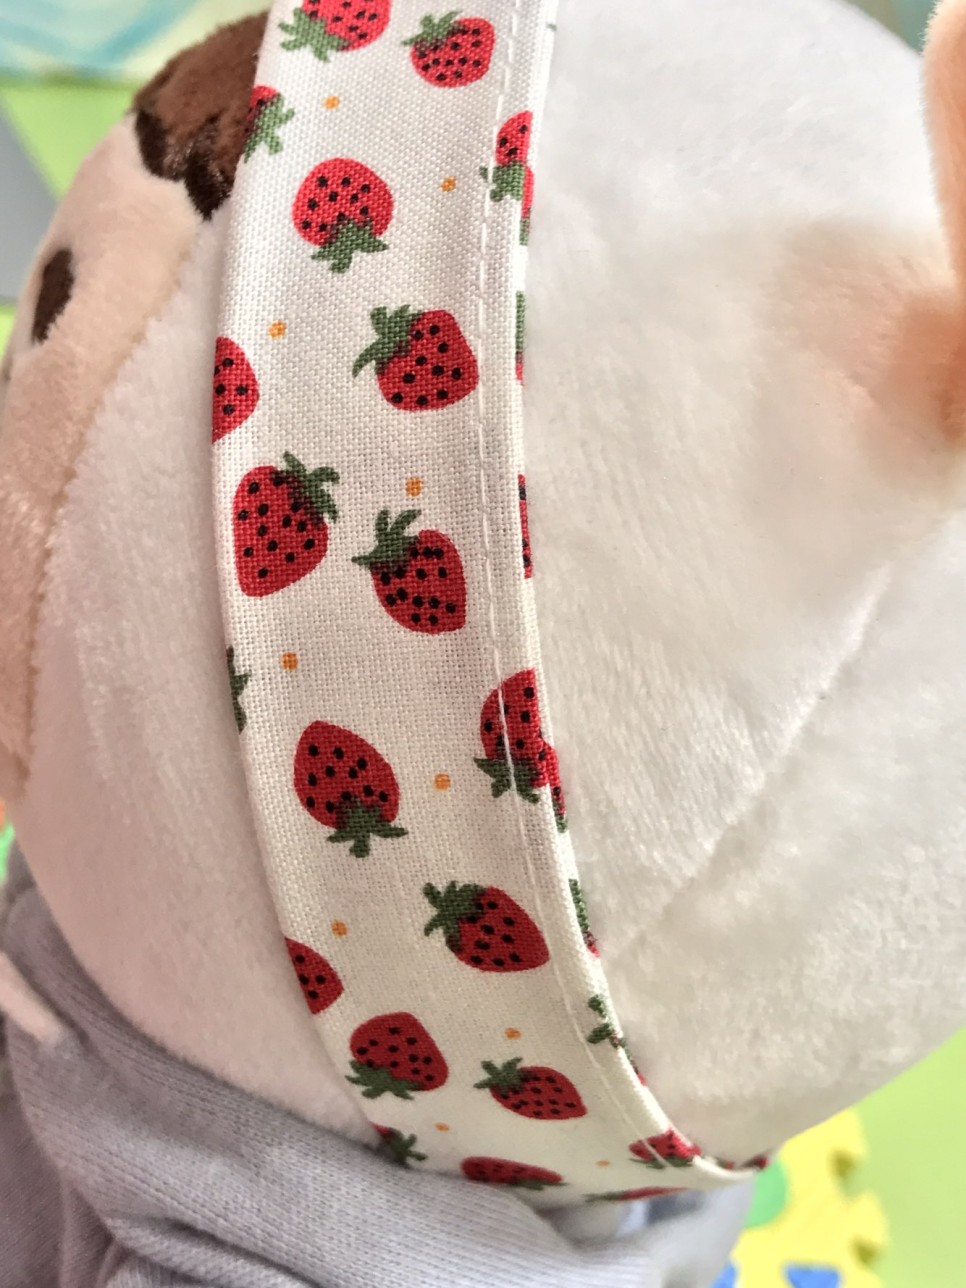
1. ヘアバンドを半分に折り、縫い目の部分を上にして
ぬいぐるみの頭に巻きます。
1. Fold the hair band in half and place it around
the doll’s head with the stitched side facing upward.
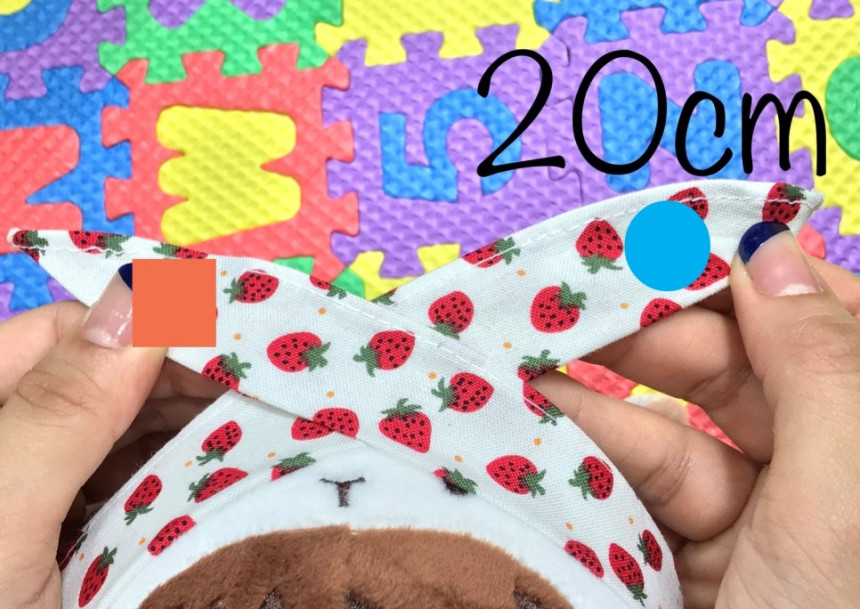
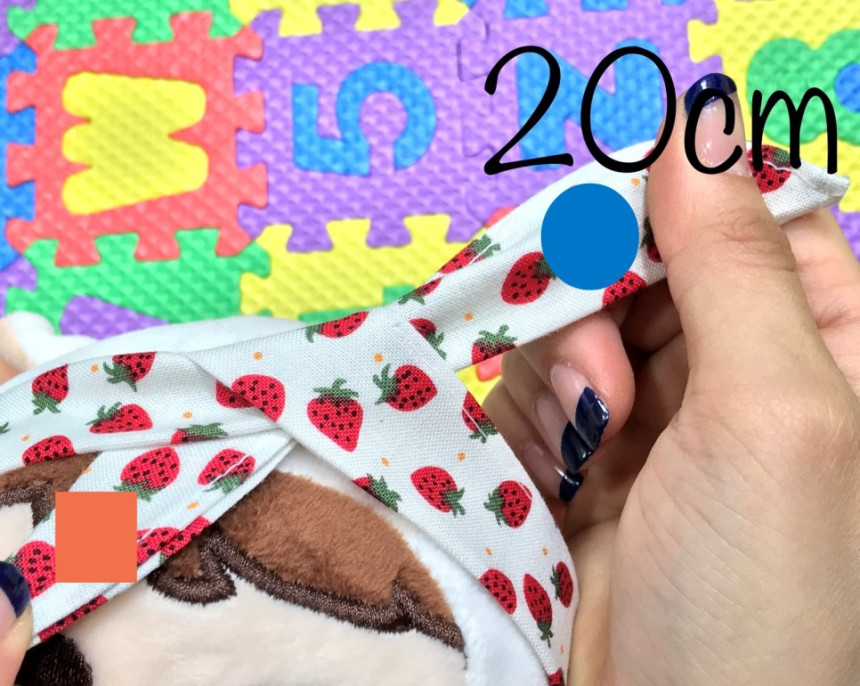
2. 左側(●)を後ろ、右側(■)を前に持ち、
右側(■)を下に通します。
※左側を少し長めに取ってください。
2. Hold the left side (●) toward the back and the right side (■) toward the front,
then pass the right side (■) underneath.
※Make the left side slightly longer.
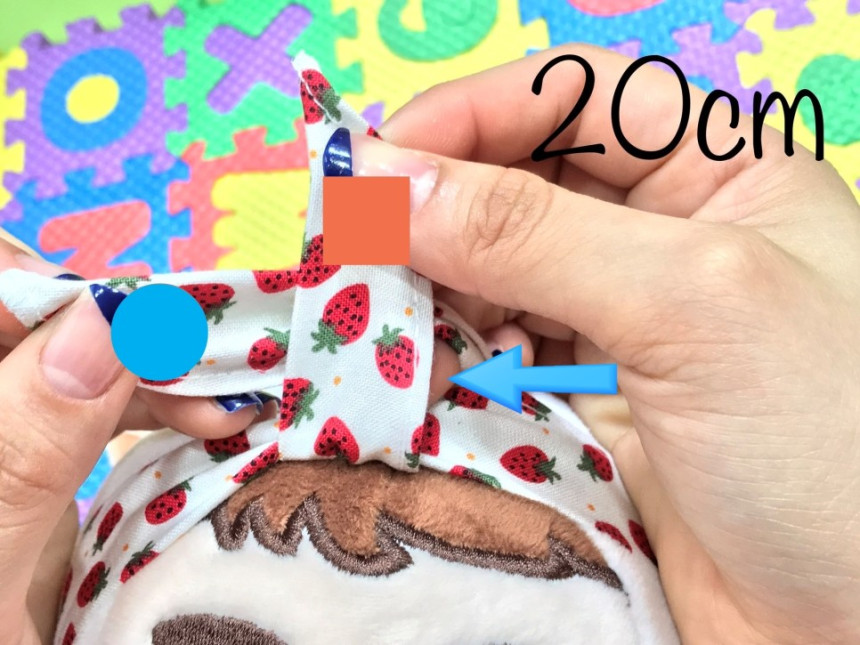
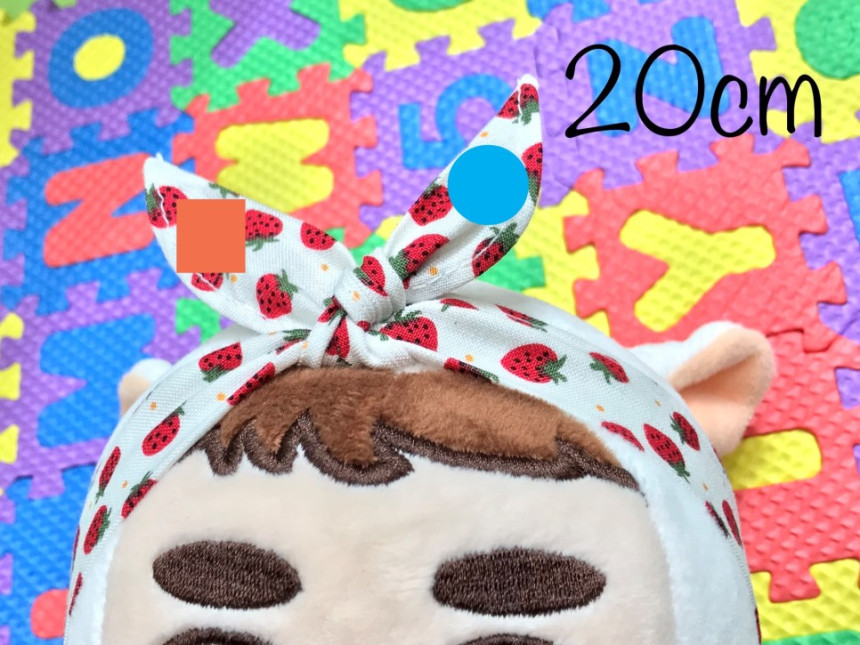
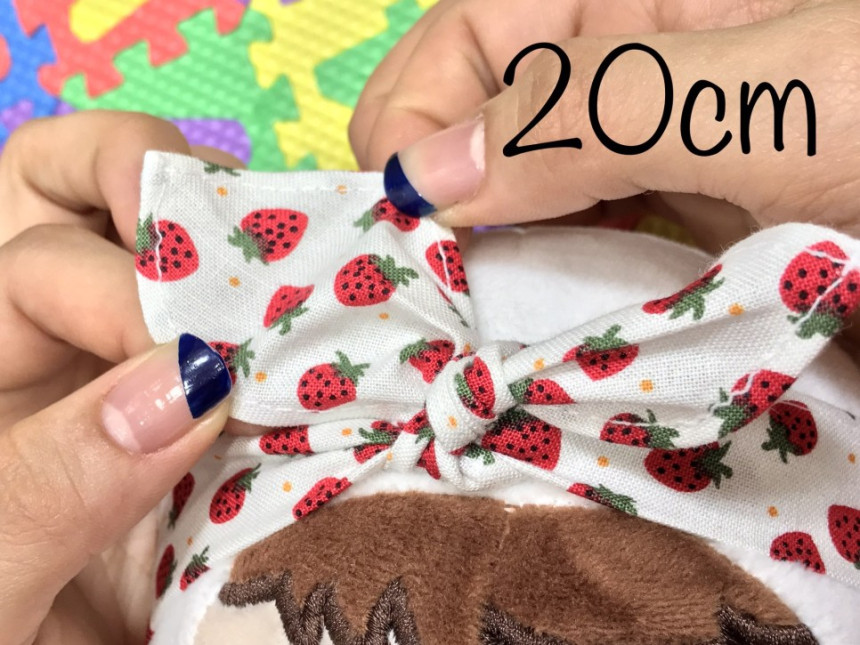
3. 左側(●)を右側(■)の前に巻き、
矢印が示している穴に通した後、
リボンの細かいシワを広げて整えてください。
★ TIP ★
頭周りが大きめのぬいの場合、
3. Wrap the left side (●) around the front of the right side (■),
pass it through the hole indicated by the arrow,
then spread out and adjust the small folds of the ribbon.
★ TIP ★
For dolls with a larger head size,
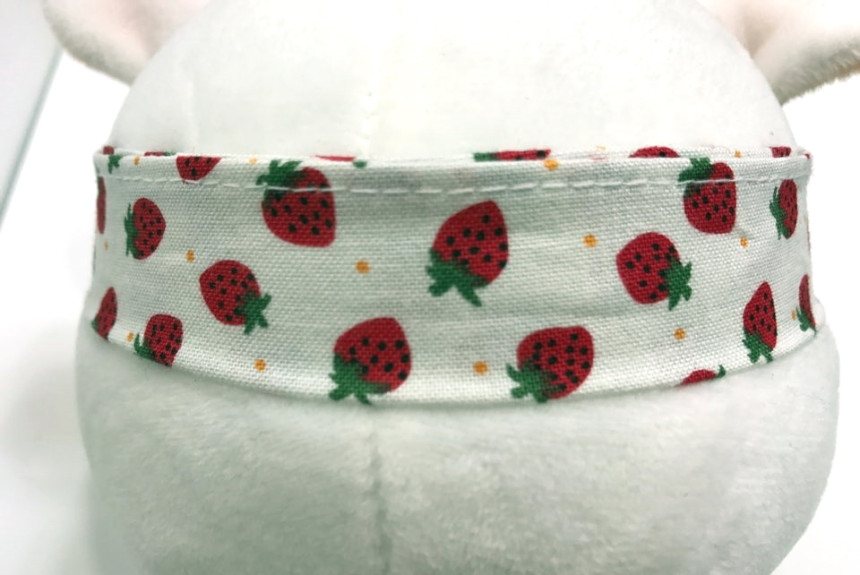
リボンが後頭部の中央にくるように整えると、
きれいなリボンに仕上がります。
Adjust the ribbon so that it sits in the center of the back of the head,
and you can create a beautiful ribbon style.
② 20cmぬい × 30cmヘアバンド
② 20cm doll × 30cm hair band
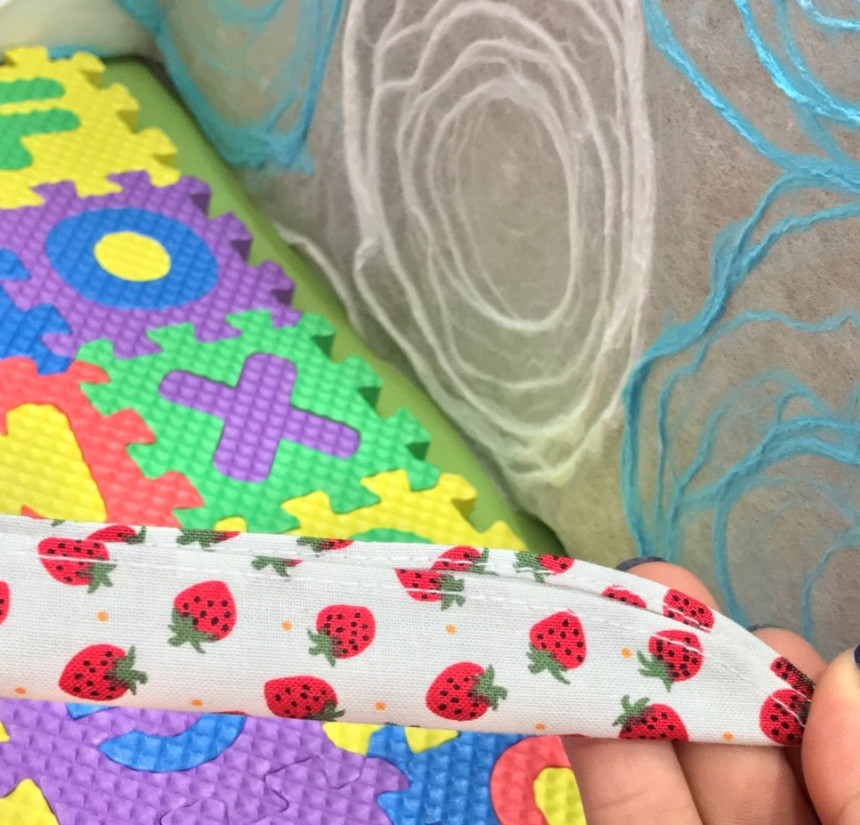
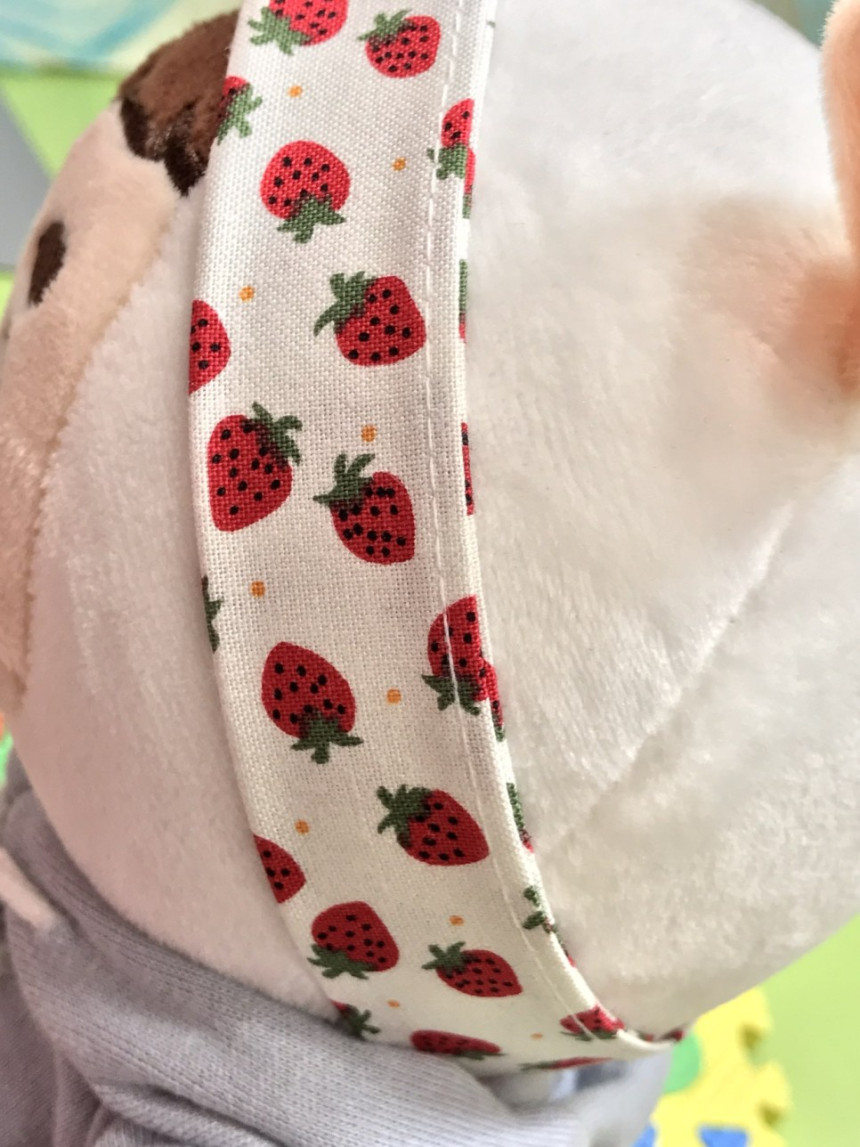
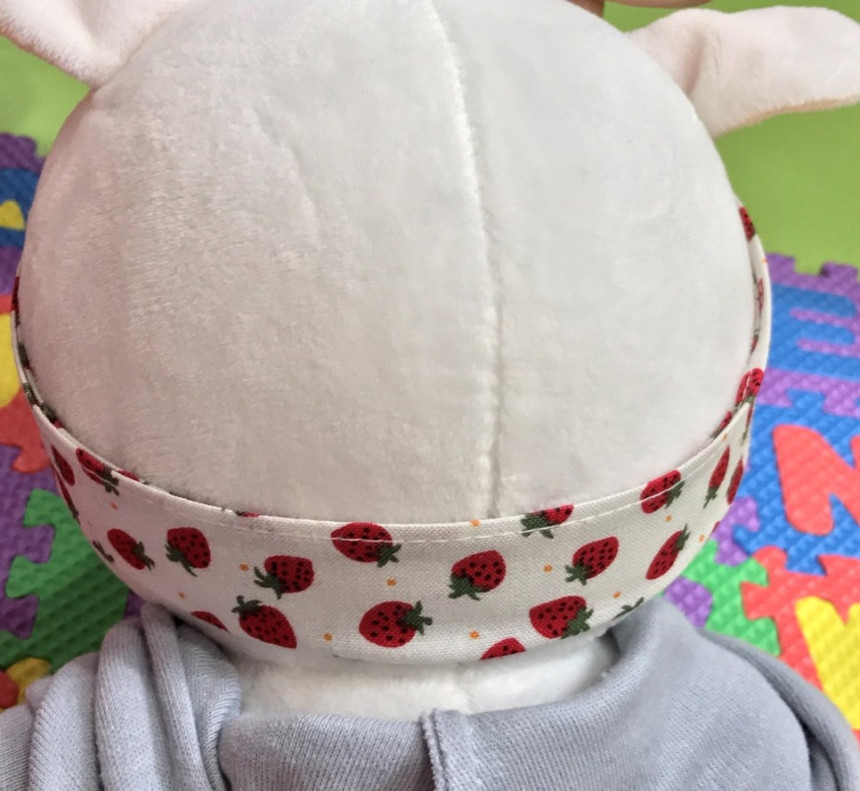
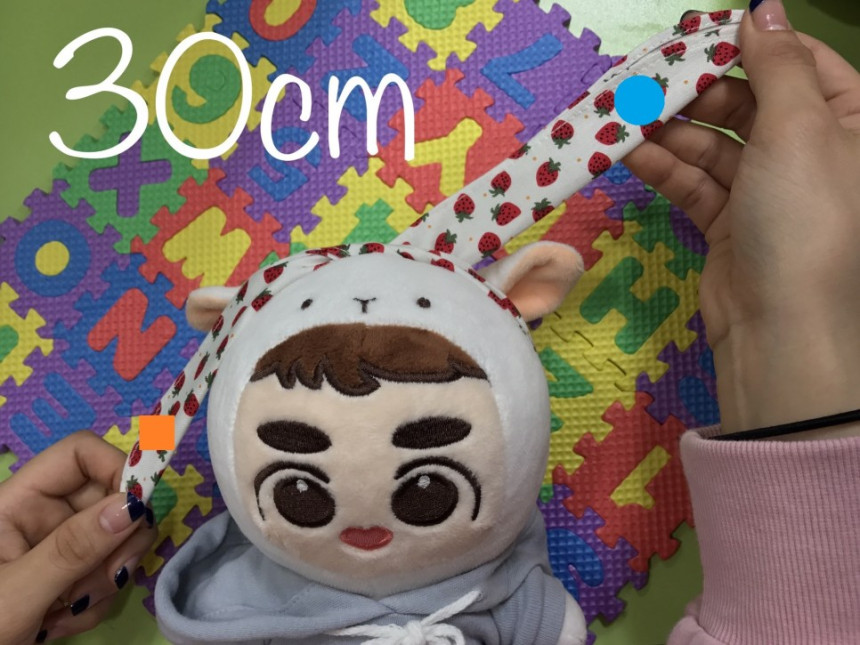
1. ヘアバンドを半分に折り、縫い目の部分を上にして
ぬいぐるみの頭に巻きます。
1. Fold the hair band in half and place it around
the doll’s head with the stitched side facing upward.
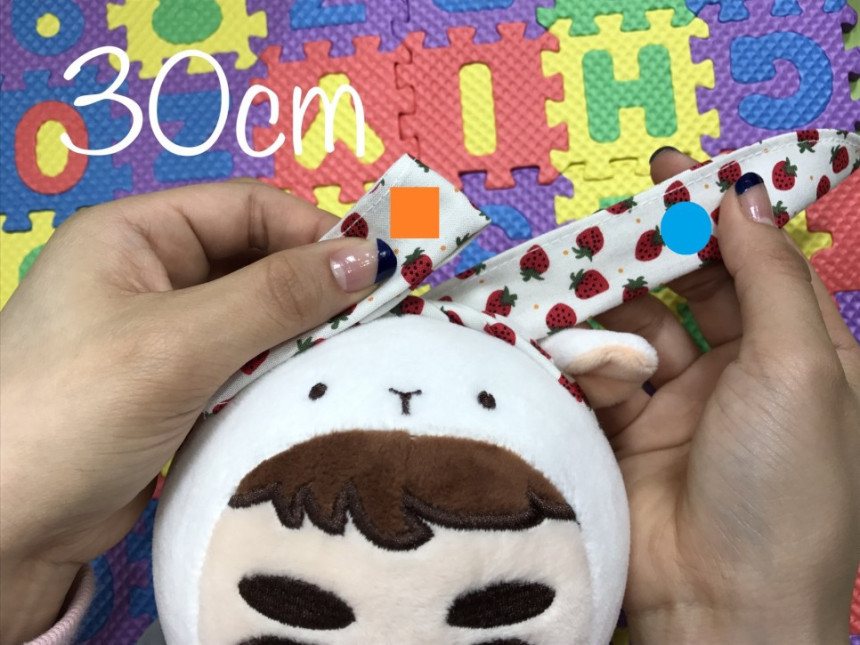
2. 左側(●)を後ろ、右側(■)を前に持ち、
右側(■)の1/3を後ろに折り返して上に持ち上げます。
※左側を少し長めに取ってください。
2. Hold the left side (●) toward the back and the right side (■) toward the front,
then fold 1/3 of the right side (■) backward and lift it upward.
※Make the left side slightly longer.
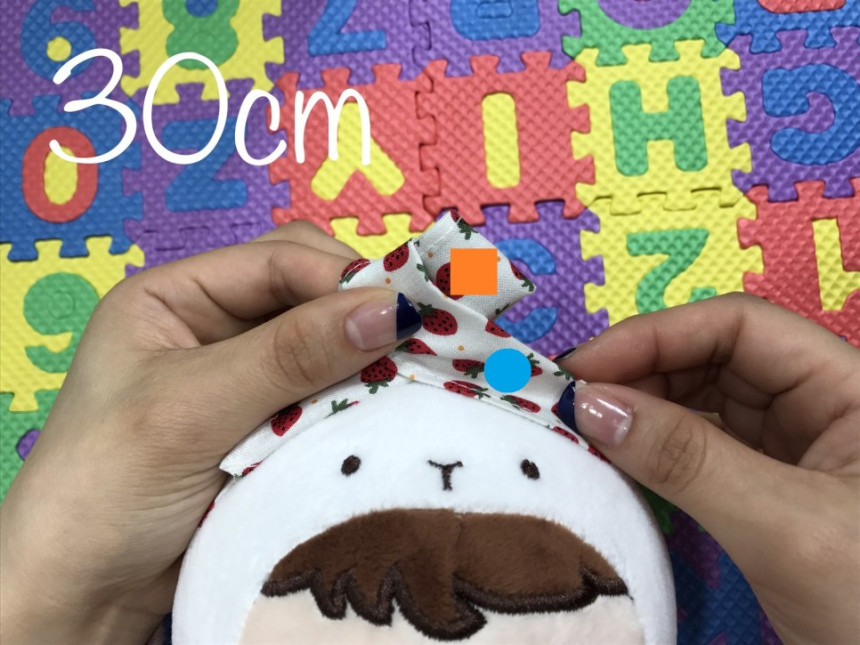
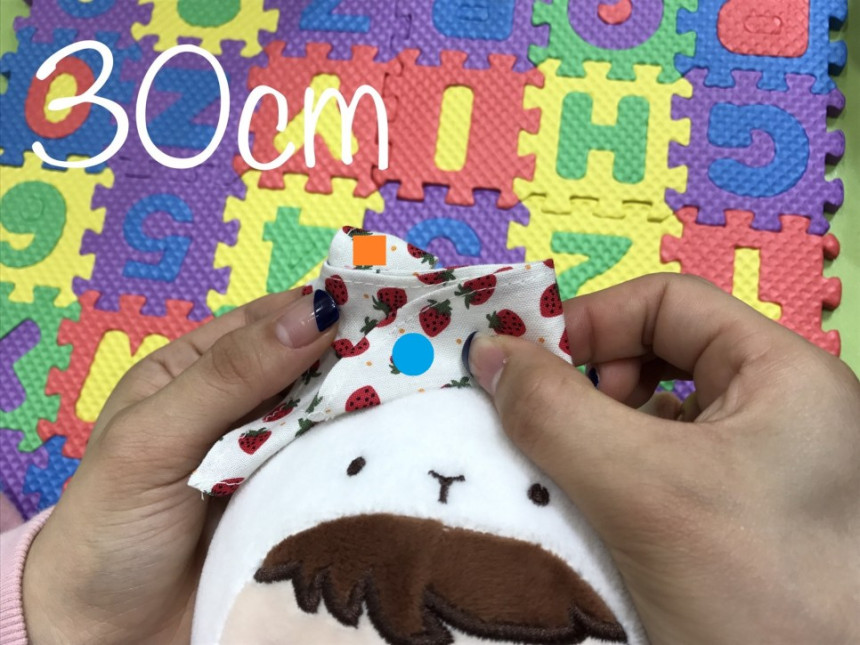
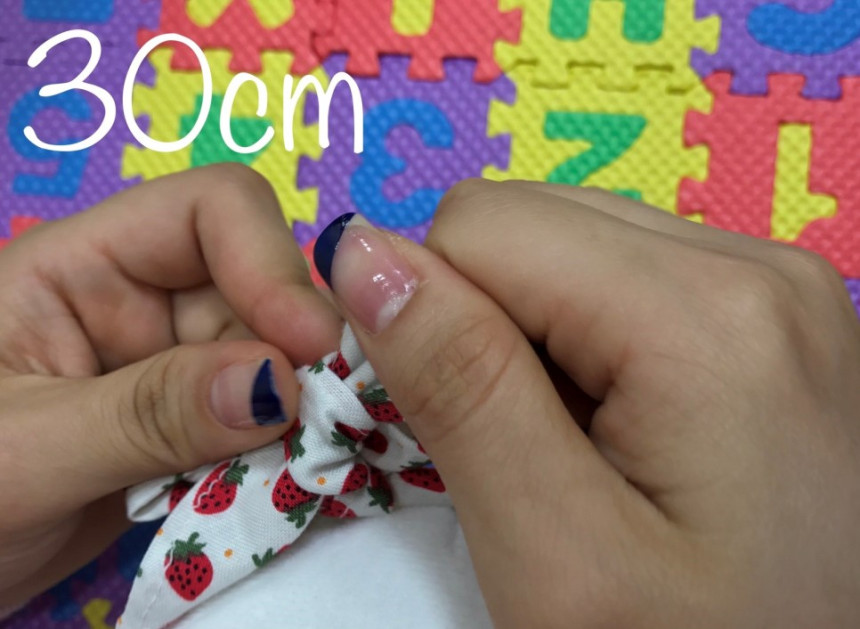
3. 左側(●)を右側(■)の前に巻き、
左側(●)を半分に折って、後ろ側の右側(■)のリボンの間にある
穴へ通します。
しっかり引っ張り、形を整えてください。
3. Wrap the left side (●) around the front of the right side (■),
then fold the left side (●) in half and pass it through the hole
between the right side (■) ribbon at the back.
Pull it firmly and adjust the shape.
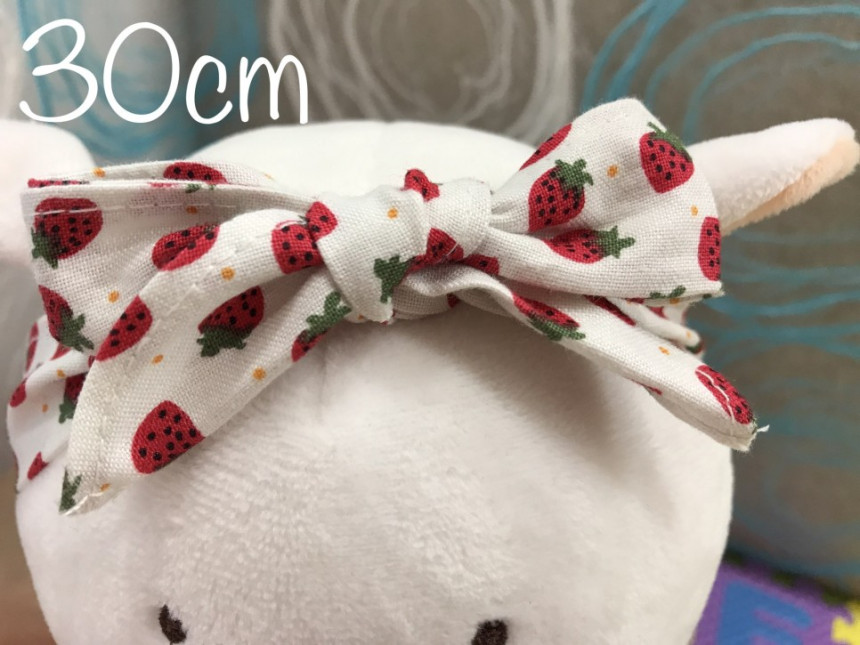
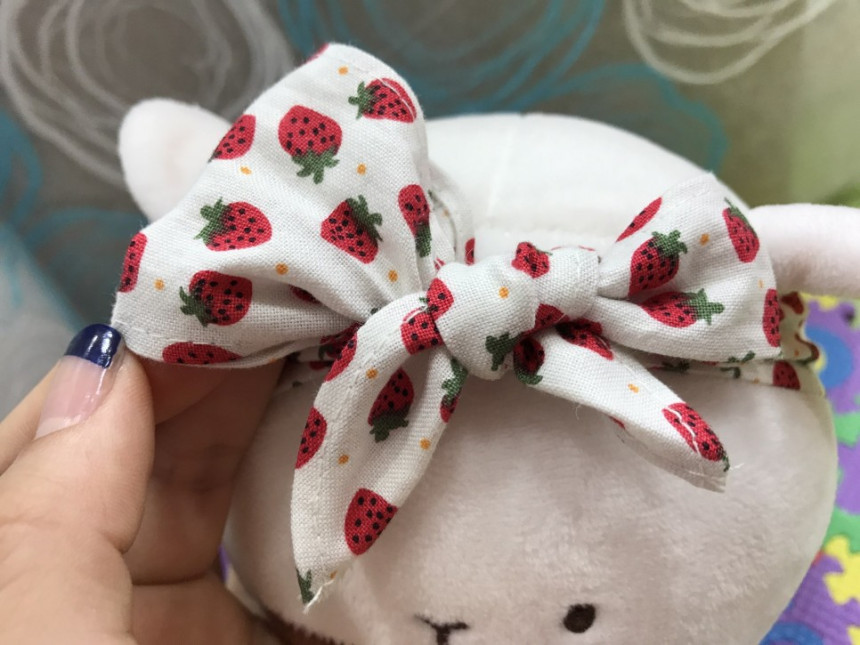
4. 両側の長さを同じくらいに整え、
リボンの2枚重なっている部分から、内側の布を引き出してください。
4. Adjust both sides to make them approximately the same length,
then pull out the inner fabric layer from the two layers of the ribbon.
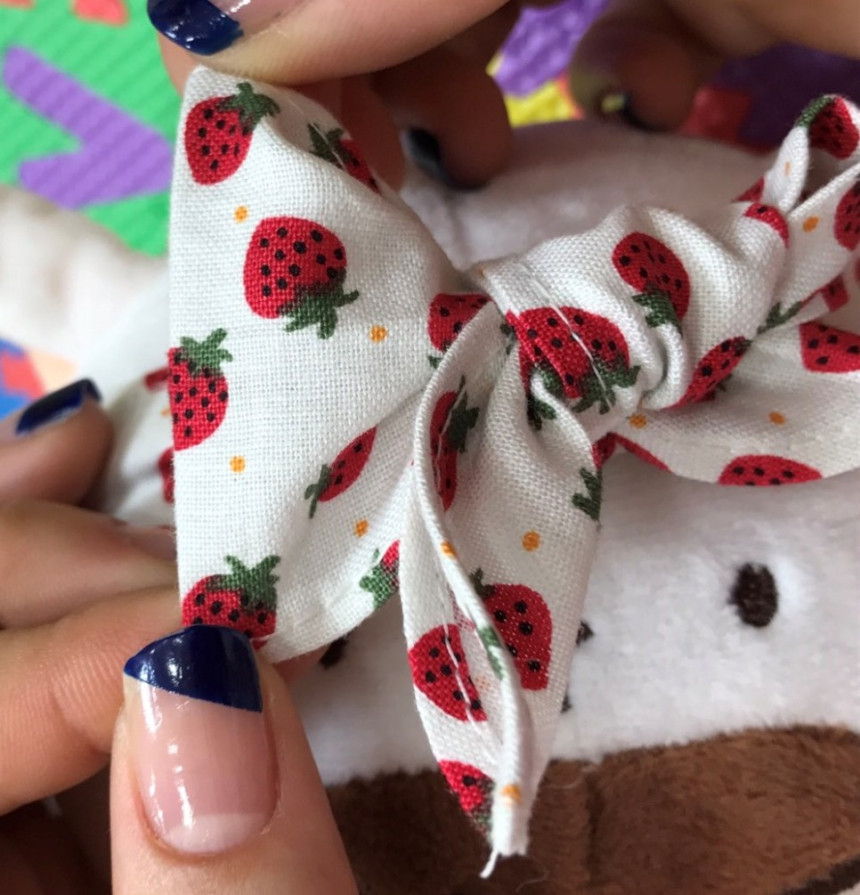
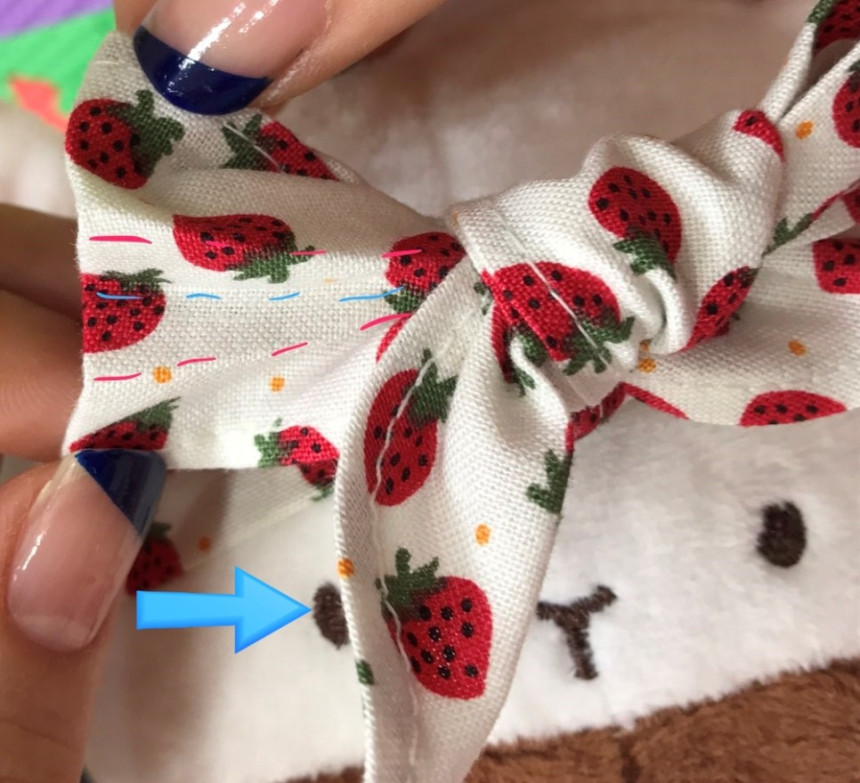
5. リボンの布を広げ、点線に沿って折ります。
青い線:内側へ(下向き)
ピンクの線:外側へ(上向き)
5. Spread out the ribbon fabric and fold it along the dotted lines.
Blue line: Fold inward (downward)
Pink line: Fold outward (upward)
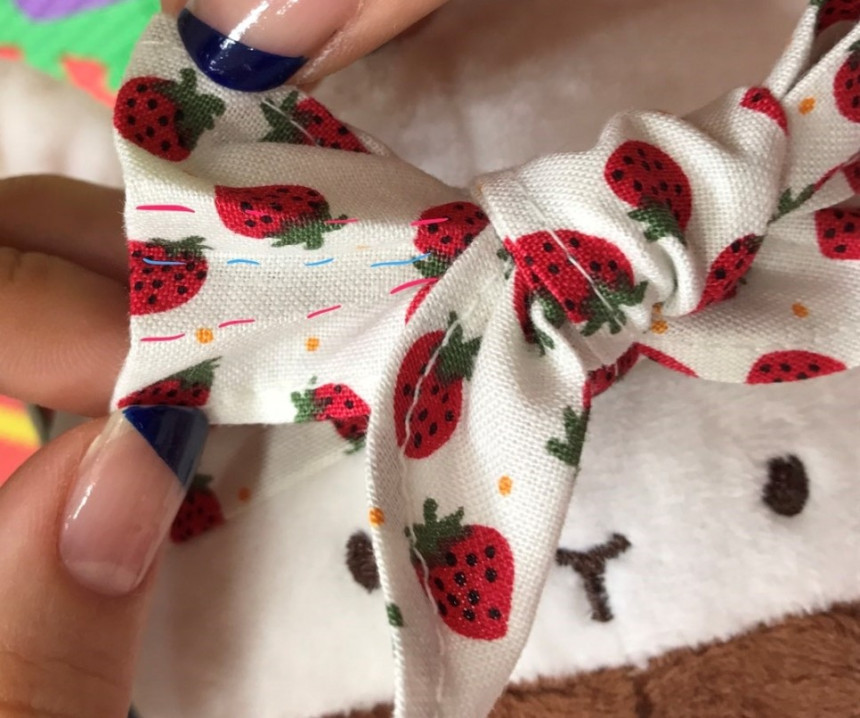
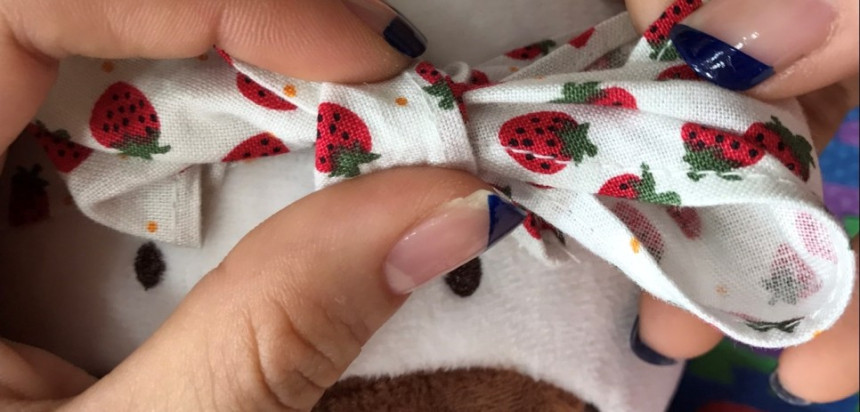
6. リボンの中央の結び目を押さえ、
矢印が描かれたリボンの紐が見えなくなるまで、
両側のリボンを少しずつ引っ張って整えてください。
6. Hold the center knot of the ribbon,
then gently pull both sides of the ribbon little by little
until the ribbon string with the arrow mark is no longer visible.
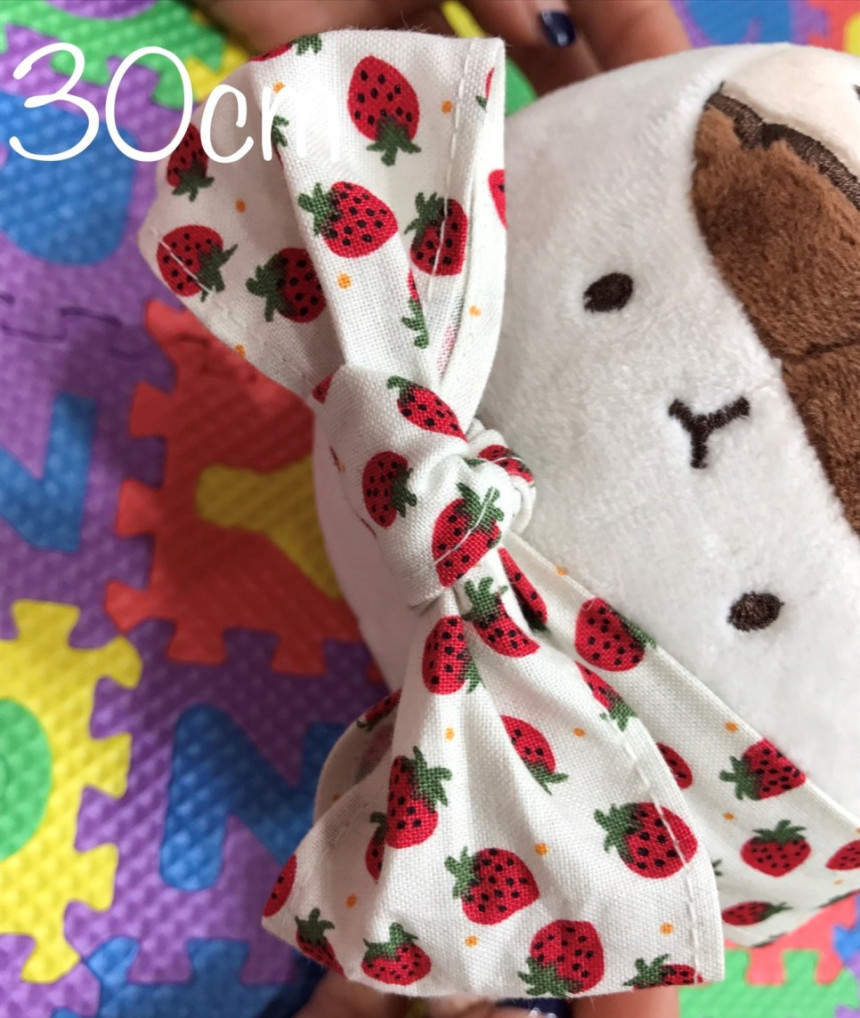
じゃん☆ 形を整えて仕上げると、
こんなに可愛いリボンになります!
Ta-da☆ After adjusting the shape,
you can create this beautiful ribbon!